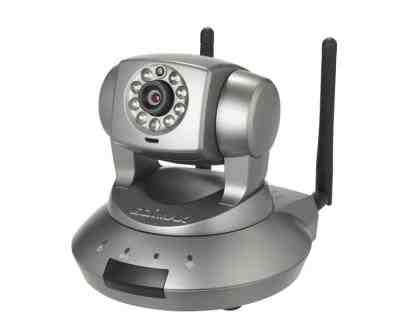
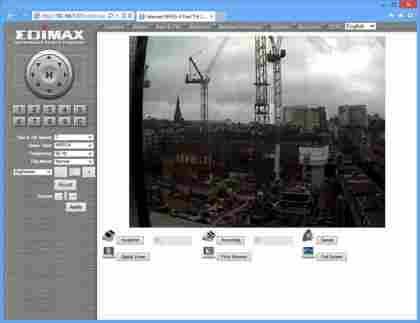
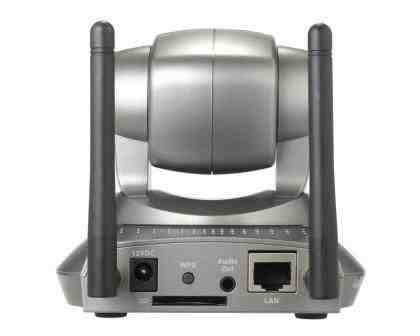
Unlike some earlier Edimax IP cameras, the IC-7110W is easy to set up on your network and doesn't have a pre-set IP address. Just connect it to your router or switch using the supplied Ethernet cable and it'll automatically get an IP address via DHCP. Edimax's Finder utility scans your network for the device, then displays its IP address and lets you launch its administration page in Internet Explorer.

You can view and control most of the camera's features from other browsers, too, including Chrome and Opera, but Internet Explorer uses a dedicated ActiveX plugin that provides a few extra options, including recording, taking snapshots, communicating via a connected speaker and full screen viewing options. Because of these extra options, we would normally recommend using IE with this camera's web interface if at all possible, but it proved unstable under IE10 running on Windows 8, with a video feed that regularly crashed.
The first thing you'll want to do is free the IC-7110W of its Ethernet tether and switch it to wireless mode. You'll find everything you need to do this in the WLAN tab of the Network screen. You simply choose a Wi-Fi network from a list and enter the network's security key. With that done, you can disconnect the network cable from the camera.
Some IP camera makers, such as EyeSpy247, have convenient online services that, for a fee, you can use to access and store footage from your camera remotely. Edimax doesn't provide that level of sophistication, but it does now provide a web portal for its IP cameras. This lets you use a unique Cloud ID number to access its video stream and some of its control options via the web or a smartphone app. Although it doesn't provide full access to the camera's web interface, using your Cloud ID is easier than setting up a Dynamic DNS portal. However, if you want to use such a service, the camera's DDNS settings are comprehensive and provide you with access to your camera even if the IP address assigned by your ISP changes frequently.

Although the Cloud ID system makes it easy to view footage from your camera wherever you are, it doesn't provide you with any online storage. The camera has an SD card slot which you can use to make scheduled video recordings or save video clips or photos whenever the camera's motion detection is set off. Enabling motion detection is easy. There's an entire settings screen and several sub-menus dedicated to it, allowing you to set up time frames during which it'll be active. As an example, you can enable motion detection when your home or office is supposed to be empty.
While recording to an SD card in the camera is very useful, your recordings could be lost if the camera or card are stolen or destroyed. The motion detection settings let you send recordings and snapshots to an SMB directory that’s shared on your local network, a local or remote FTP server, or via email.
Pointing the camera at a Samba (SMB) share is easy - all the settings can be found in the main motion detection menu. The FTP and email settings are a little harder to find, as they're divided between a couple of different menu screens and are not clearly labelled. First, you'll want to add the address of your FTP server. If you want to use a local server, we recommend setting one up on a NAS device, as this means that you don't have to leave a PC switched on to record your data.

You can also enter settings that allow the camera to use your outgoing SMTP email server to send you pictures and alerts. If you then want the camera to save images or video clips to your FTP server regularly, you'll have to go to the System settings and its Schedule submenu. You can then configure the camera to upload still images to your FTP server at a rate of up to five per second, or upload video clips of up to 10 seconds in length as often as once a minute. Alternatively, videos and stills can be emailed to a designated account.

